The power of flutes
Corrugated cardboard's secret strength lies in its flutes—but only if you fold smart. Try this quick experiment to feel the difference between folding with the flutes (inline) versus across the flutes (perpendicular).
Prepare your test pieces
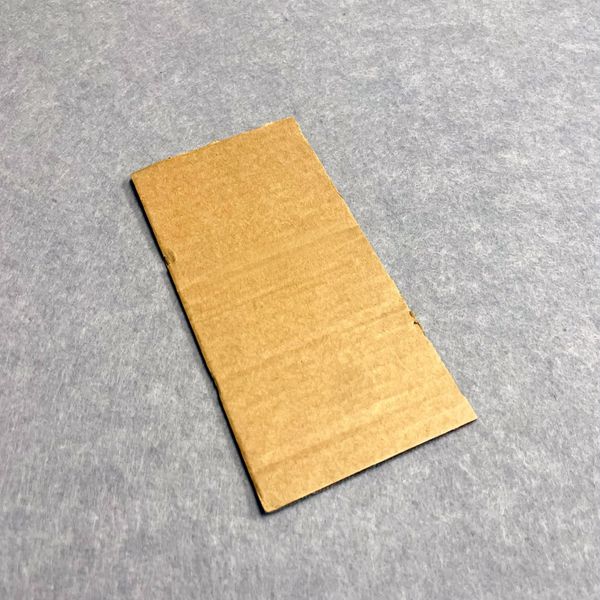
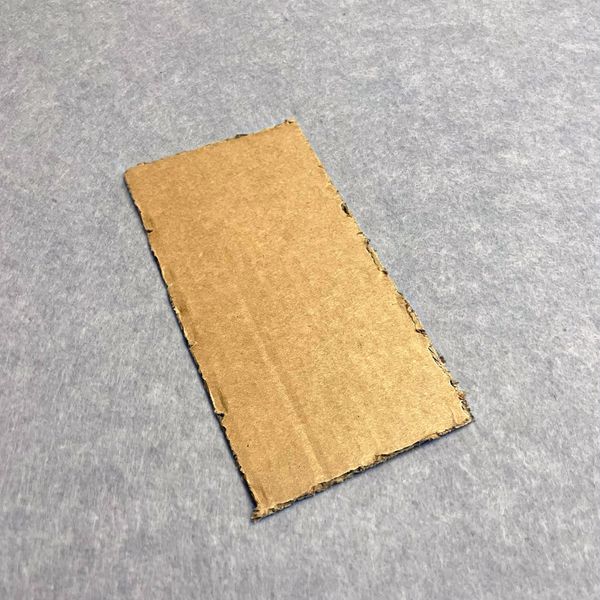
Start with two rectangles
Cut two rectangles of corrugated cardboard (approx. 10cm x 15cm), but pay close attention to the direction of the flutes:
Piece A: Cut so the flutes run parallel to the shorter side.
Piece B: Cut so the flutes run parallel to the longer side.
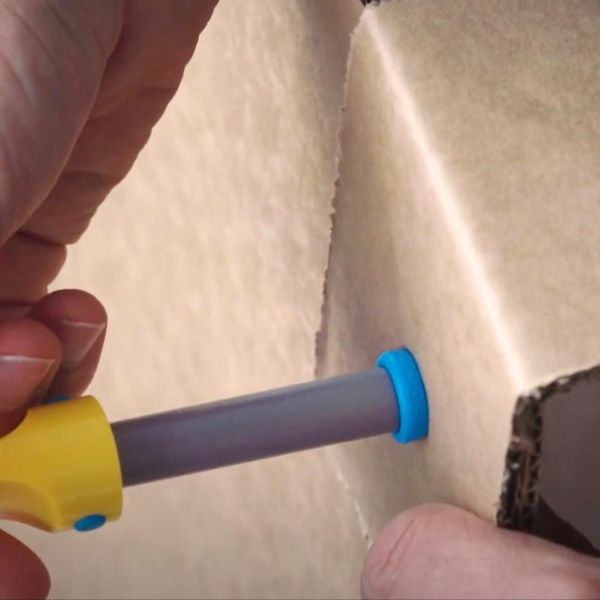
Score the fold line
Fold through the middle
Using a Makedo Fold-Roller, score a fold line through the middle of the longer side on each piece.


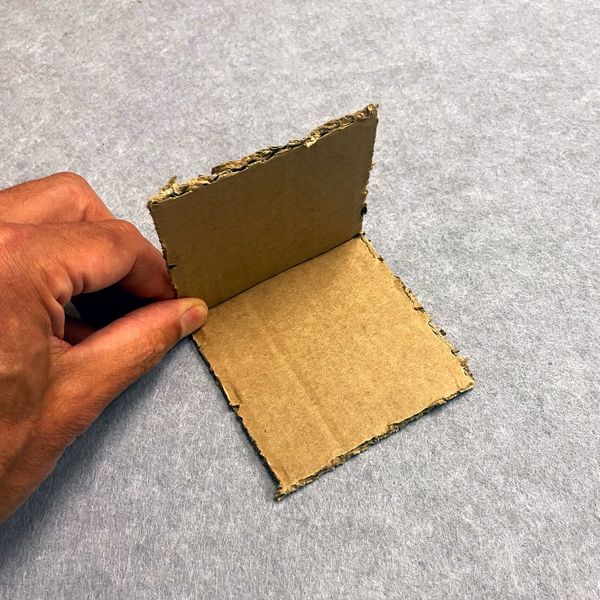
The parallel fold
Piece A
With your scored line as a guide, make a fold in the middle of the longer side. The fold will be inline with the flutes.
Observation
Notice how easily it folds?
The cardboard "snaps" into an existing flute channel. This creates a weak point that offers almost no structural resistance; it will fold and flop with very little pressure.
Depending on your cardboard, it may have been difficult to fold along the scored line, because nearby flutes also collapse when pressure is applied.
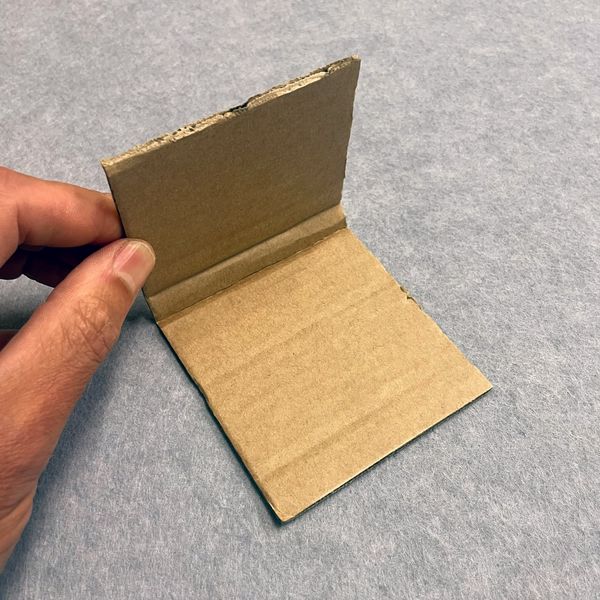
The perpendicular fold
Piece B
With your scored line as a guide, make a fold in the middle of the longer side. The fold will be across (perpendicular to) the flutes.
Observation
Feel that resistance?
You are physically compressing the cardboard corrugations when you fold along a scored line that is across the flutes.
This creates a rigid support that resists unwanted bending and deformation.
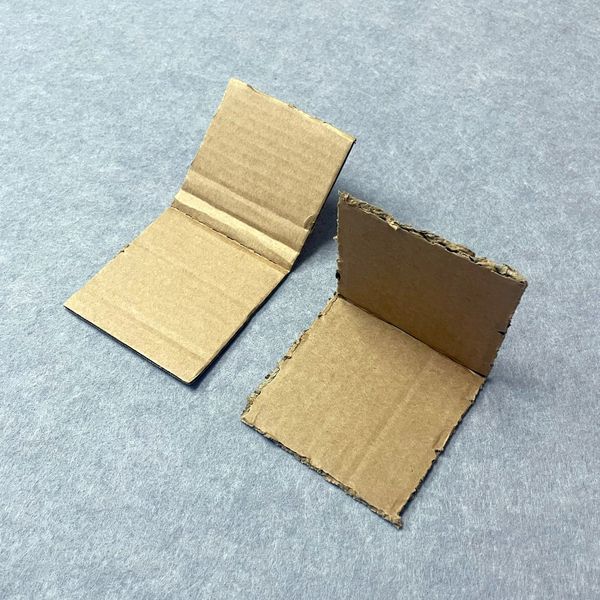
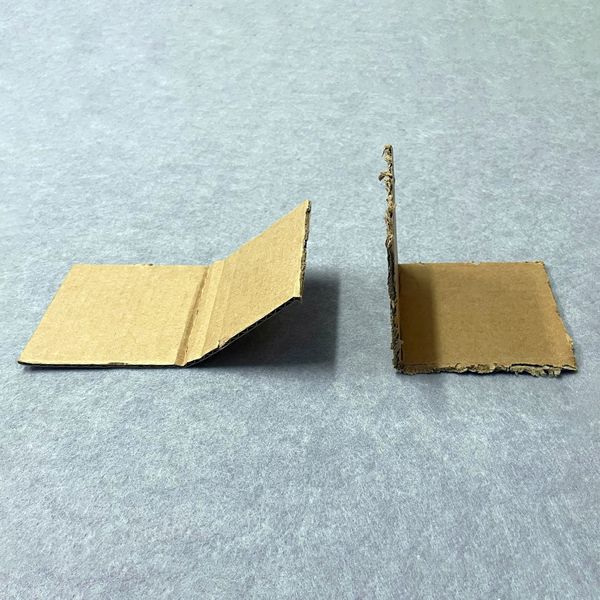
Folded comparison
See and feel the difference
Note the difference when folding across the flutes (right) vs inline with the flutes (left). The fold across the flutes is crisp and holds its place when released, and the fold inline with the flutes is less precise and falls away easily when released.
The verdict
Perpendicular folds for strength
Always fold perpendicular to the flutes (Piece B) when you want to add strength to a cardboard structure.
By folding across the flutes in this way, you create a reinforced corner that maximizes the structural integrity and load-bearing capacity of your cardboard.
Folding perpendicular to the flutes is what gives every cardboard box the ability to be super strong while remaining lightweight and easy to open and close.
Use this knowledge to make the most of cardboard's structure and strength for your Makedo creations!
Further resources
Folds in action
Dive in to the following resources to learn how to control folds for maximum impact.
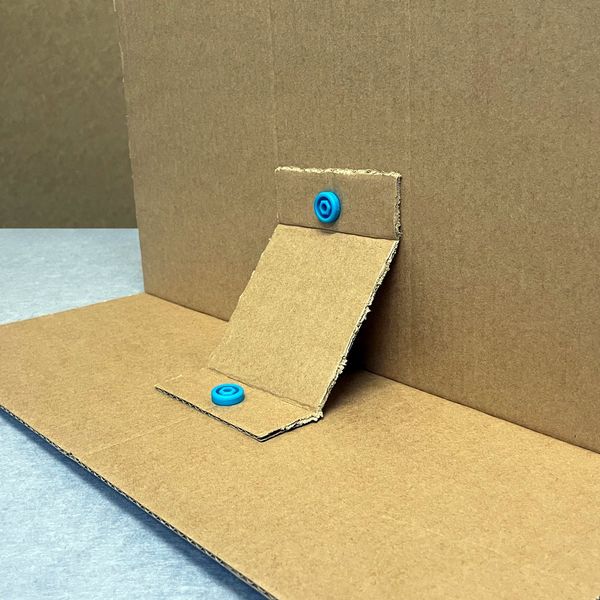
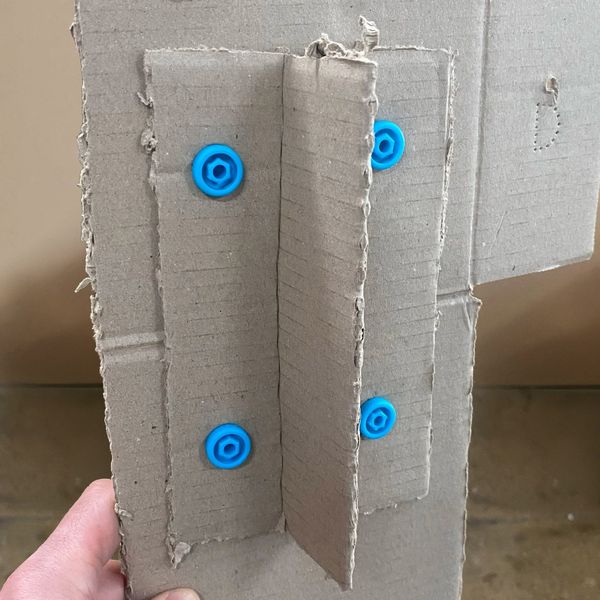
L Brace and Brackets
The L Brace (or bracket) is a foundational Makedo cardboard engineering joint!
Use this reinforcement at corners to add strength and stability where two pieces meet at a right angle.
Triangular Brace
Triangles are one of the strongest shapes in construction, as they don’t distort or deform under pressure. This makes the triangular brace a powerhouse in cardboard engineering!
Learn how to quickly add support to your cardboard structures with the triangular brace.
Connections and Joints: Flanges, Tabs and Patches
Ready to learn all about cardboard attachments?
In this maker tip, you’ll learn a few of our favourite ways to make strong, secure joints and how to add stability when connecting and building with cardboard.
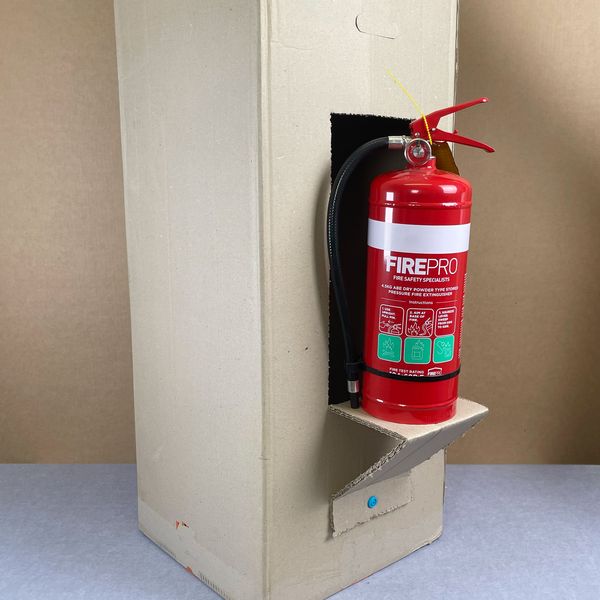
Supported Shelf
Discover how the triangle's shape distributes weight evenly and prevents sagging.
Learn how to use triangular supports to create a sturdy cardboard shelf that can hold a serious amount of weight.