Learn and Play
Take the time to learn and play with your own homemade cardboard clock! This step-by-step guide will have junior makers learning how to tell time in a tick.
Preparation
What you'll need
Scru-Driver
Fold-Roller
Safe-Saw
2x Scru and 1x Scru+
Roto-Ring
Upcycled cardboard
Markers/pencils
The clock face
Trace out the shape
Start by making the face of your clock. You can use something round from around the home to trace a large circle - the kitchen is a great place to find this! There is sure to be a pot lid or dinner plate that is just the right size for your clock face.
Once you have traced the round shape, use your Fold-Roller to mark out the cutting line. For this clock, we are cutting only the top half of the circle, leaving the sides straight so that there is a stand to hold the clock face upright.

Cut out the clock face
Follow your dashed line
Next, use your Safe-Saw to cut out the shape of your clock. Follow the dashed line created with your Fold-Roller, extending the shape downwards from halfway through the traced circle. The extension should be more than two times the height of your traced circle.

Making the stand
Help your clock stand up on its own
To make the stand, use your Fold-Roller to score three horizontal lines at the square end, on the reverse side. Fold the bottom over along these lines to make a wedge shape at the back of your clock. Use your Scru-Driver and two Scrus to secure it in place.


The hands
Using the Roto-Ring
The two hands of the clock will each be attached with a Makedo Roto-Ring. This will enable them to rotate freely!
Use a fresh piece of cardboard that is large enough to cut out two clock hands from. First, press the Roto-Ring firmly so that an impression is made in the surface of the cardboard. Next, punch holes in a circle and then insert the handle of the Scru-Driver to make a hole that is just right for the Roto-Ring to fit snugly.
Tip: For a detailed guide on how to use the Roto-Ring click here.


Insert the Roto-Rings
Full 360 degree motion
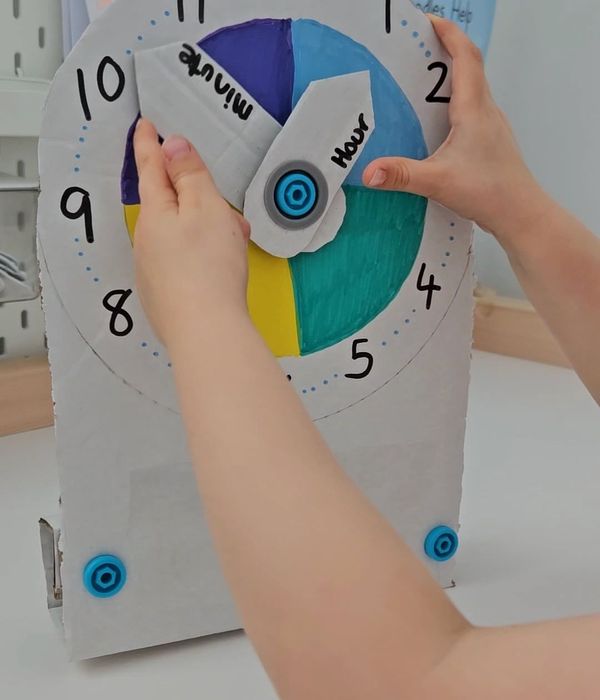
Cut out the hour and minute hands, about a fingers-width wider than the Roto-Ring holes that you created.
Roto-Rings are designed to fit together so that you can stack them for multiple moving parts. Start with the smaller hour hand, and then stack the longer minute hand behind.


Connect the hands
Tick tock...
Connect the assembled hands to your clock face using a single Scru+.
First, punch a hole at the center of your clock face. Then insert the Scru+ into the top Roto-Ring, and fasten through both Roto-Rings to your clock face. The hands will each now spin freely.


Decorate, play and learn
Adding a little extra
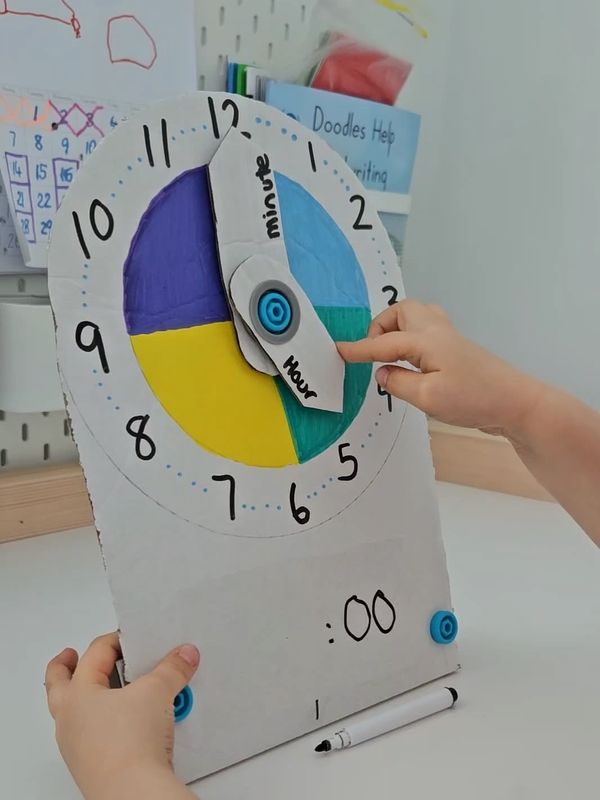
Don't forget to decorate! You can write your clock’s numbers with a pen or marker, punch out the numbers with the pointy hole puncher at the back of your tools, or paint them on.
In a great idea from @our.joyful.home on Instagram, a little tape down the bottom creates a reusable space for dry-erase markers, so that you can practice reading and writing the time using your clock!

Video walkthrough
From the source...
Watch a short video how-to of the construction process for this clock, thanks to @our.joyful.home.
Looking further
What will you create?
The possibilities suggested by this clock design from @our_joyful_home don't end here, either. The same design could make a compass, a speedometer for your cardboard car or a control panel on a rocket ship.
What will you make next?