Crafty Cardboard
Put away your wood saw and replace it with a Makedo Safe-saw. Save a tree and find some cardboard you can use to make your very own DIY Cardboard Christmas Tree.
Preparation

What you'll need
Scru-Driver
Fold-Roller
Safe-Saw
44x Scru or Scru+
Upcycled cardboard (Use our handy template below to work out how much you'll need!)
Download the template
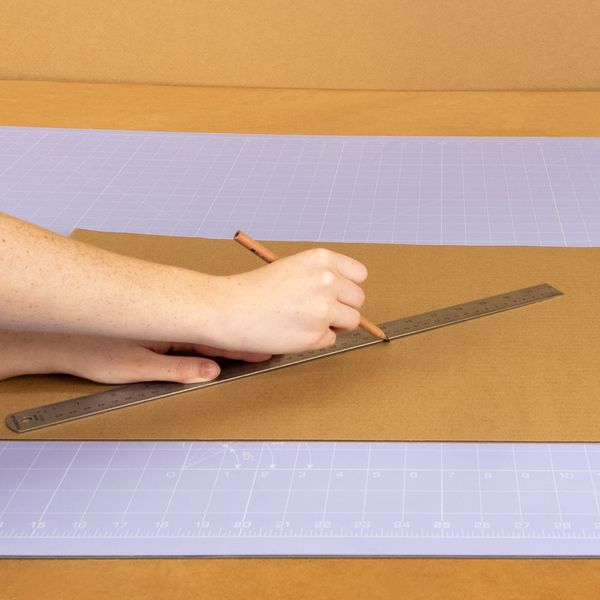
Measure, trace and cut
Click the button below to download the printable PDF template.

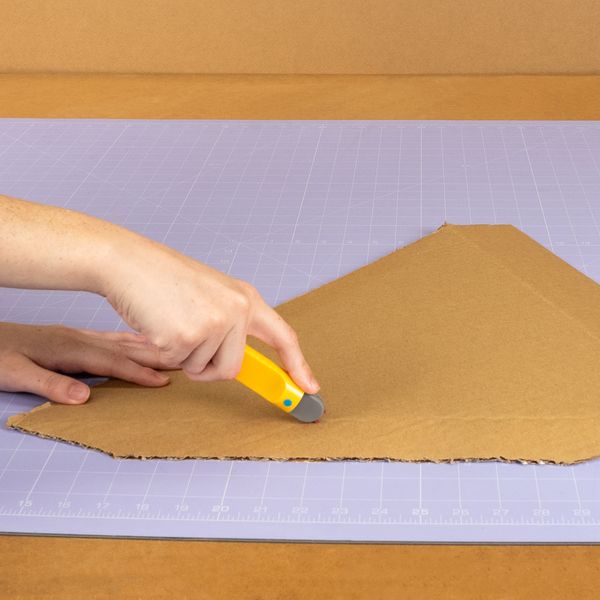
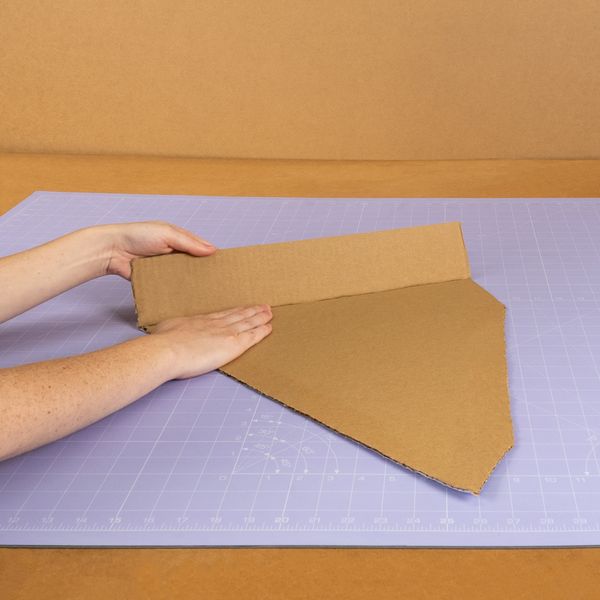
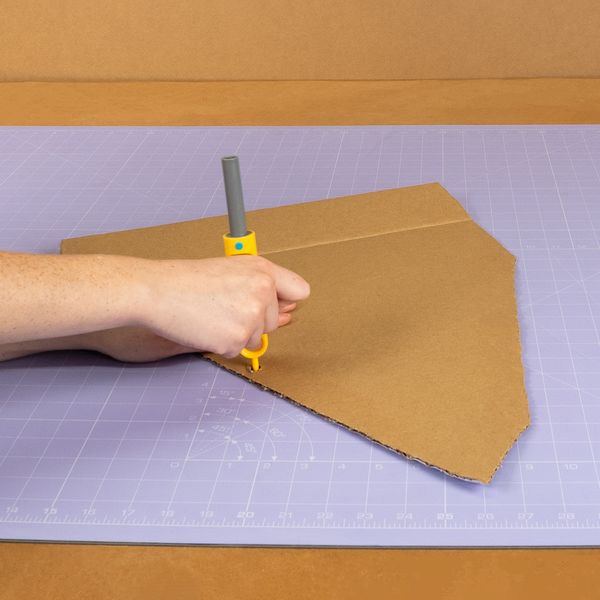
Cut the panels
Measure, cut and repeat
Referencing from the downloaded template, measure and cut out the cardboard triangles. You should have a total of 16 triangle panels.
Tip: For each triangle size (A, B and C) you can use the first triangle you cut out as a template for the remaining panels of that size.
Score your fold lines
Use the Fold-Roller
Where the perforated line is illustrated in the template, use the Makedo Fold-Roller to score a dotted line in the cardboard. No Fold-Roller? You can punch a row of holes with the pointy tip on the other Makedo tools, to create a similar effect.
TIP: Choose which side of the cardboard you would like to be facing outwards on your finished tree, and make your scored fold lines on the reverse side. This will ensure your folded edges are nice and neat!
Fold the flaps
Two folds on each panel
Fold along the creased line. Repeat steps for the remaining triangular panels.
Punch the holes
Align for each panel
Use the pointy tip on a Makedo tool to punch holes in each triangle panel as shown in the template.
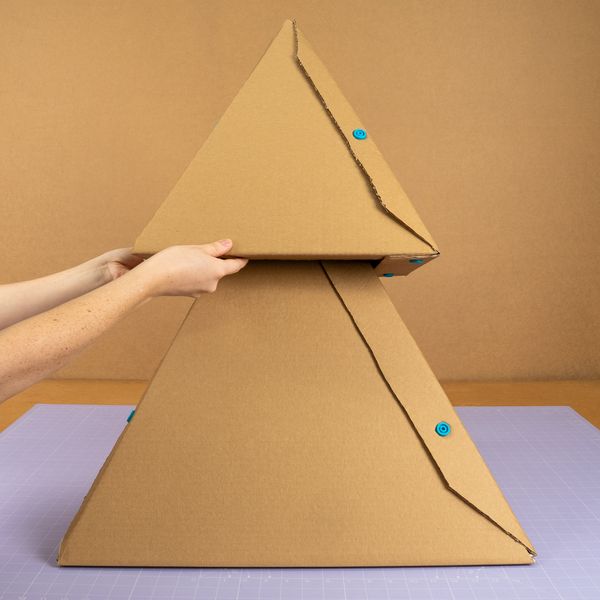
Build the pyramids
Attaching the panels
Each module uses four identical triangle panels. Place the flap of one triangle over the edge of the second and align the holes. Connect the panels using a Makedo Scru or Scru+.
Fold in the flaps underneath and screw the corners together to complete the triangular module. You should have 4 modules, as shown in the template: 1x A, 2x B & 1x C.


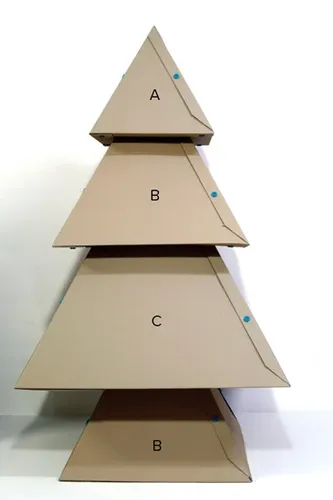
Stack
One on top of the other
Position the triangles on top of one another in the following order (from bottom to top): B - C - B - A
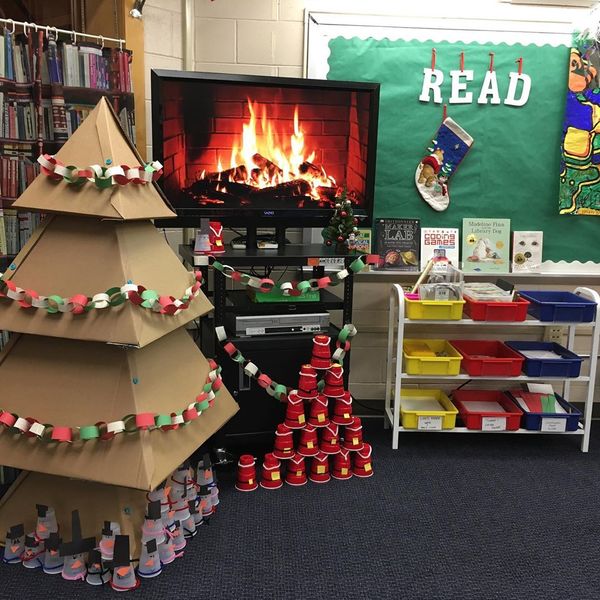
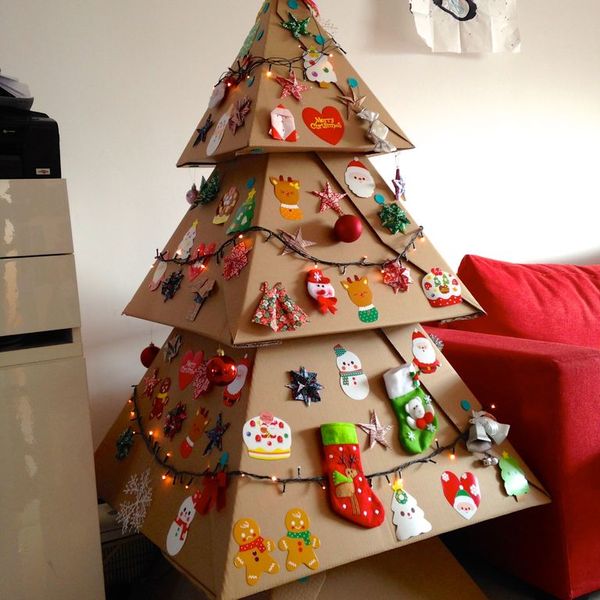
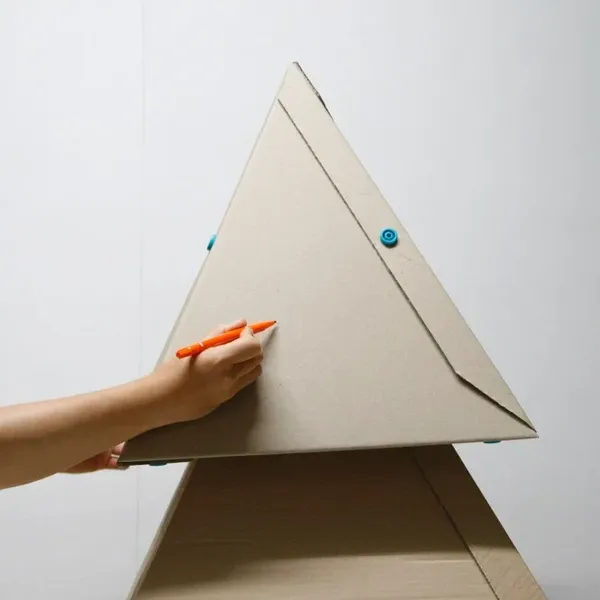
Time to decorate
Make it your own
Draw on the cardboard, attach DIY Christmas ornaments that you've made yourself or find other interesting ways to personalise your Cardboard Christmas Tree.
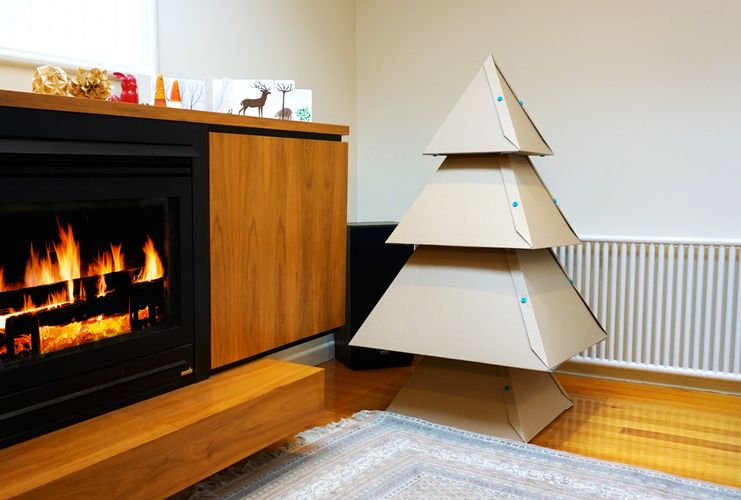
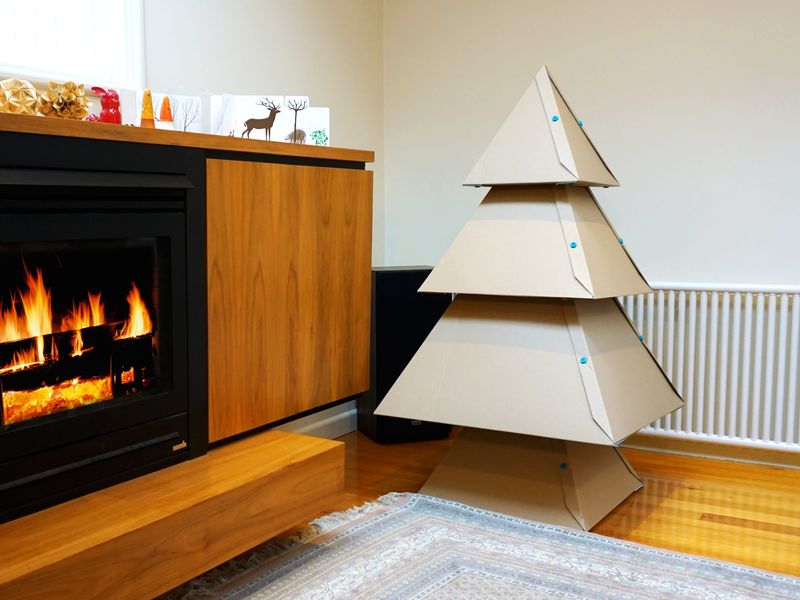
Your Christmas Tree is complete!
Let the cardboard festivities begin
Your Makedo Christmas tree is complete! Find a cozy corner or a warm spot by the fire (not too close!) where your tree can bring festive cheer to your home.
Don't forget to take pictures of your outcomes and share them with the Makedo community!
Upload here or use #mymakedo on your socials.