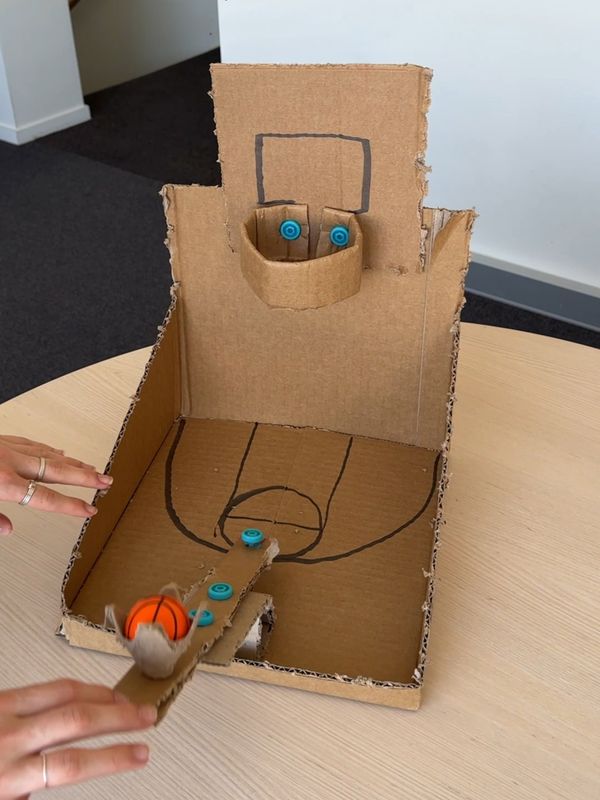
Test your skills in the cardboard arcade
There are many different ways to make fun and challenging games for your cardboard arcade. In this guide we are looking at how to make the catapult mechanism for a launcher or ball toss game.
The scale can be variable - what we're showing here is a table-top version, but you can go larger if your cardboard (and your arcade space!) has scope for something bigger. The thinking behind the mechanism will work across multiple sizes.
Cut two strips
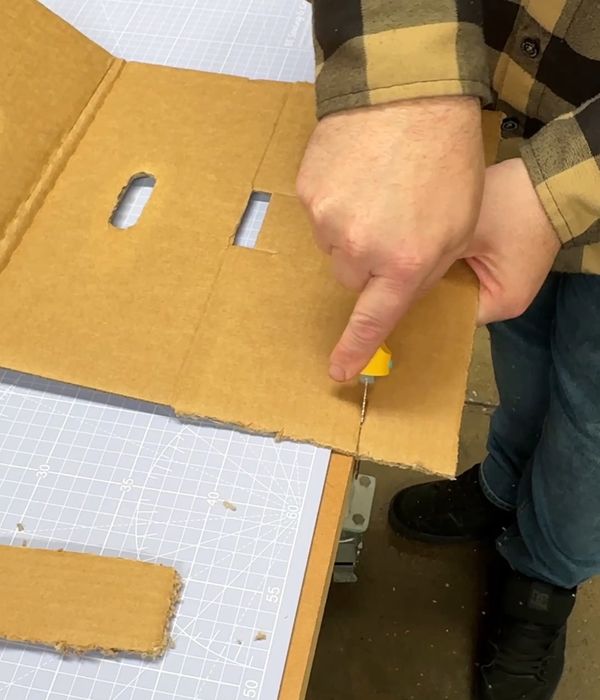
Pay attention to the flute direction
The first step is to cut two strips of cardboard. They should be approximately the same width, and it is important to pay attention to the flute direction!
We want the flutes to be in line with the longer side of your strips. This will help your launcher stay rigid when a force is applied.
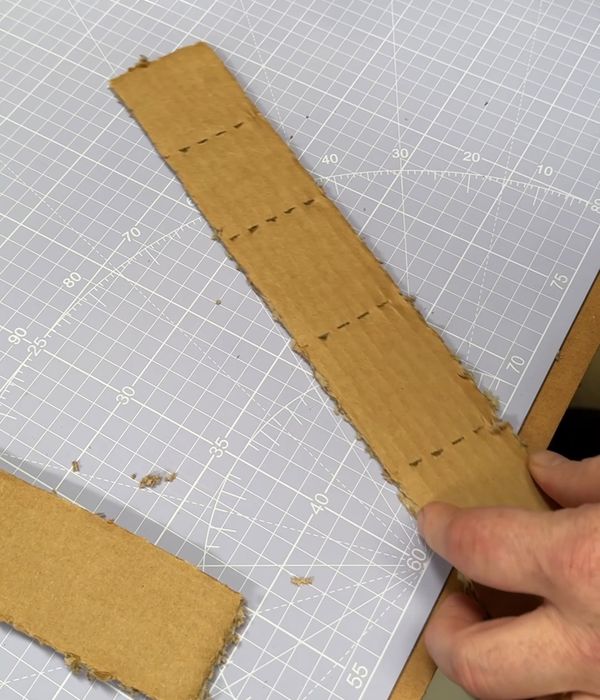
Score and fold
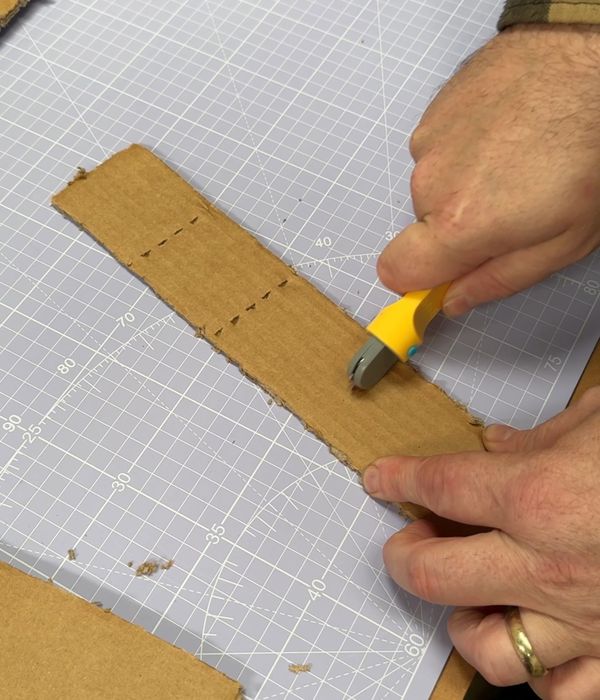
Five segments, four the same
Using your Fold-Roller, score the first strip so that it has five segments. It is important that the first four are approximately the same size, and then the fifth is 2x longer than the others.
Triangle fold
Folding for strength
Fold the strip on the scored lines so that a strong triangle is formed. Continue to fold until the first panel of the triangle has a double layer of cardboard, with the longer strip extending out.
Secure in place
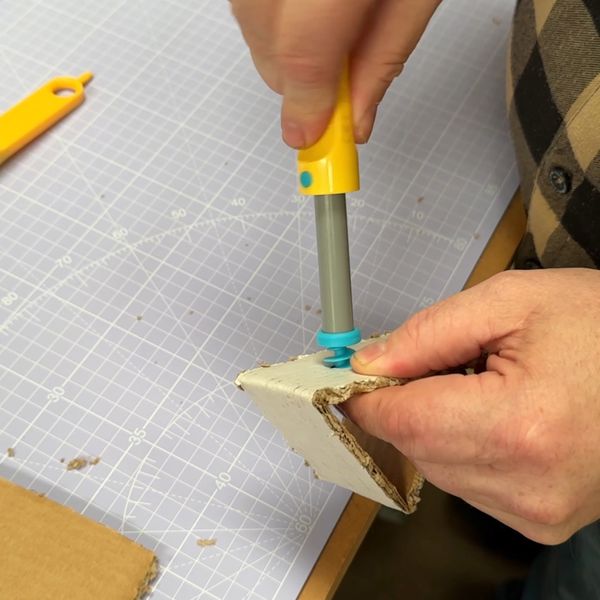
A stable base
Using a single Scru, connect through to secure the triangle in place.
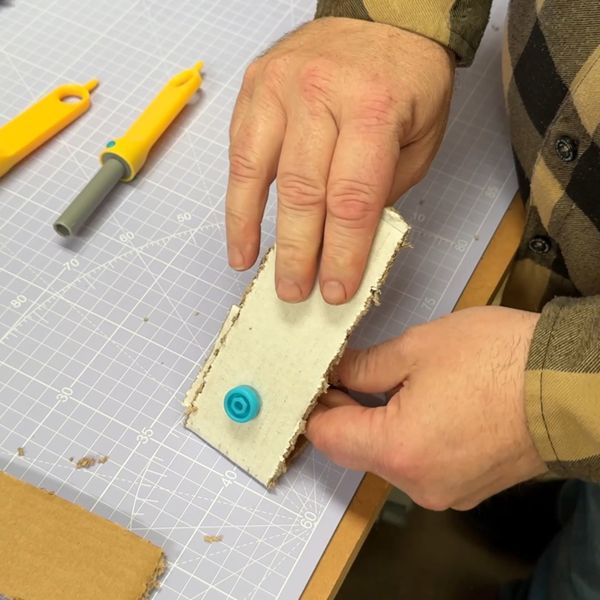
This completes the base of your catapult - the next step is to attach the main arm. Your base will look like this:
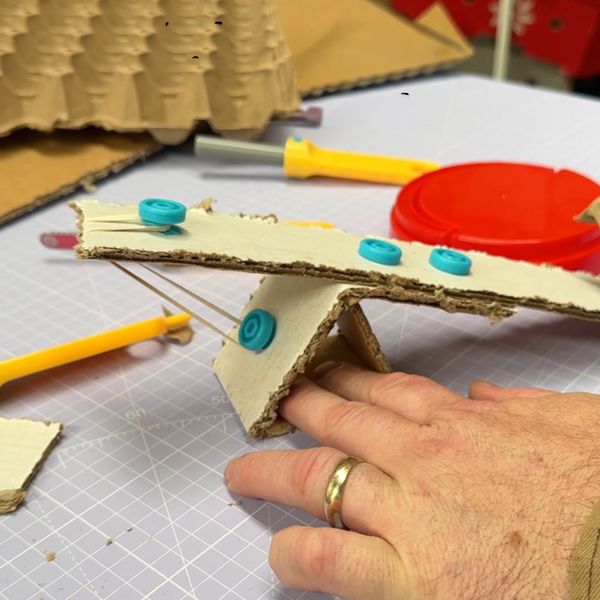
Connect the arm
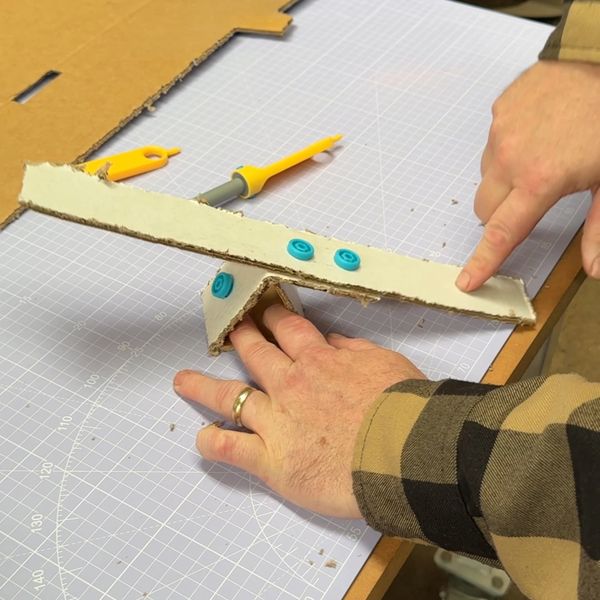
Like a see-saw
Now it is time to use the second strip that you prepared earlier. Flip your triangle base over so that the longer panel is at the top. Align the second strip so that it looks like a see-saw balancing on your stable triangle.
Connect the second strip using 2x Scrus. The swinging arm of your catapult will hinge at the top of the triangle as shown here.
Attach the cup
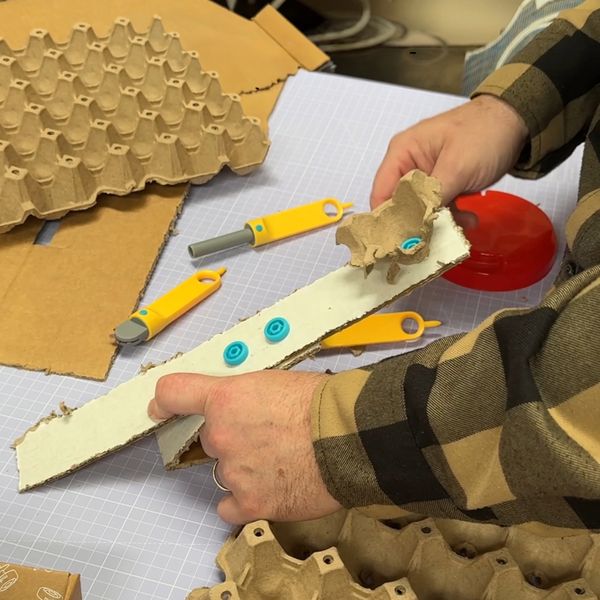
The launch cradle
Attach a cup or cradle that can hold the item your catapult will be launching. It could be a paper cup, a folded shape, or (as we have shown here) a segment from an egg tray.
Tip: You may need to trim the other end of your swinging arm, so that it can pivot all the way forward. In this image, our arm is not able to swing flat against the triangle, which means it needs to be trimmed.
The power source
Rubber band stretch
Add a Scru near the opposite end of the swing arm from your launch cradle.
Source a rubber band, and loop it around the Scru on the swing arm at one end and then around the Scru on your triangle base beneath the arm.
This will allow the arm to spring forward when you stretch it back under tension and then let go.
Mount to a stable base
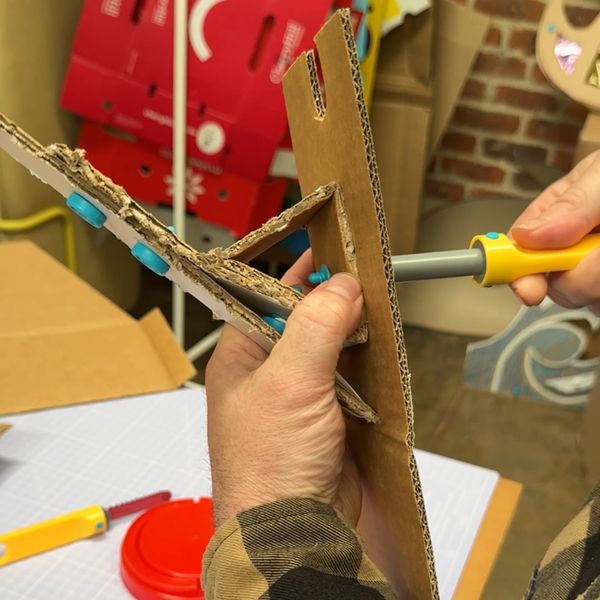
Pivot side to side
Using a single Scru, connect through the base of your triangle onto a larger surface that can form the baseplate for your catapult.
This has two functions - it will hold your catapult in place, and also allow you to pivot side to side so that you can aim before firing.
Ready to fire!
Test your firing mechanism
Your cardboard arcade catapult is now complete!
Time to test your aim.
Ready...
Aim...