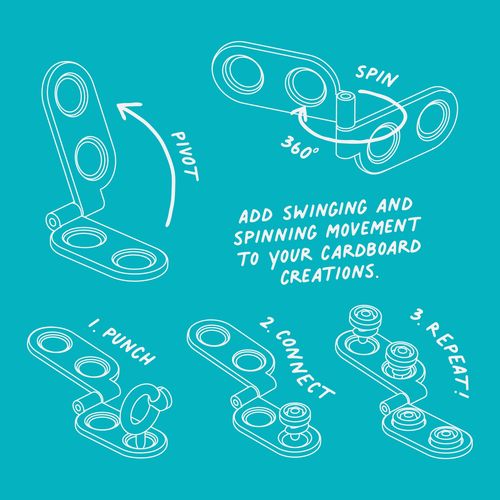
Introducing the Makedo Spin-Hinge!
This versatile component enables additional motion for your cardboard creations. Swing, rotate, spin or brace. Let's see how it works!
Place the hinges
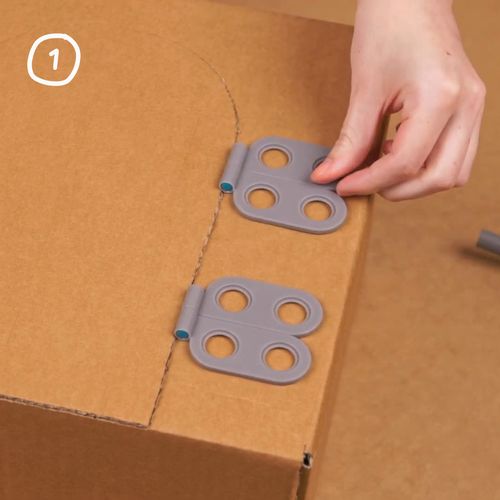
Step 1
Once you have cut out your door, locate where the Spin-Hinges will go. Some openings need just one Spin-Hinge - for a door like this to swing freely, we are using two Spin-Hinges.
Punch the holes
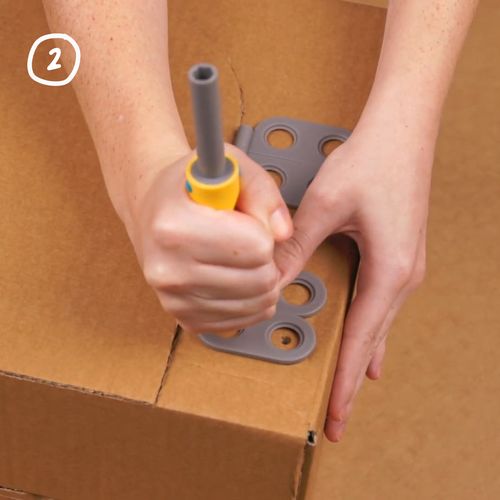
Step 2
With the Spin-Hinges in place, punch the holes on the half that will attach to the non-moving side.
Connect
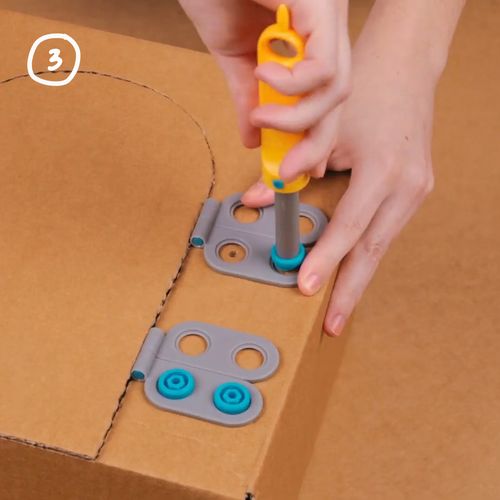
Step 3
Using your Scru-Driver, connect the first half of each Spin-Hinge with two Makedo Scrus.
Tip: We recommend attaching the Spin-Hinges to the fixed (non-moving) surface first, as shown in the image here.
Locate and punch
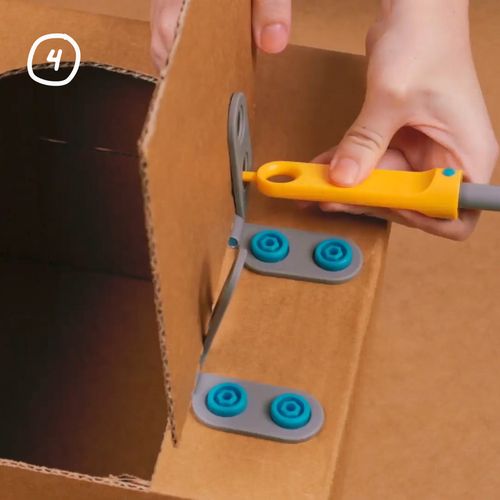
Step 4
Locate where the opened hinges will go on your moving door panel, and use the Scru-Driver to punch holes for each Spin-Hinge.
Tip: If it's tricky to hold everything in place, you can ask a making buddy to lend a hand.
Attach the door
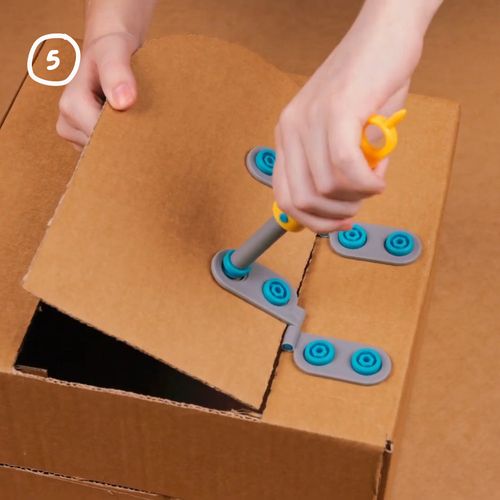
Step 5
Connect the swinging half of the Spin-Hinge to the door using 2x Scrus for each Spin-Hinge.
Open and close
Your hinged door is complete!
The Makedo Spin-Hinges will allow for doors of all sizes to open and close smoothly.
What else can the Spin-Hinge do?

Swing, rotate, spin and brace
Expand the possibilities of adding movement to your cardboard creations with the Makedo Spin-Hinge.
Now, what will you create?
Video tutorial
Spin-Hinge inspiration
From the team at Makedo HQ
What would you make if you had 20 minutes and a handful of Spin-Hinges? The team at Makedo HQ had a lot of fun exploring their creativity with this making challenge!